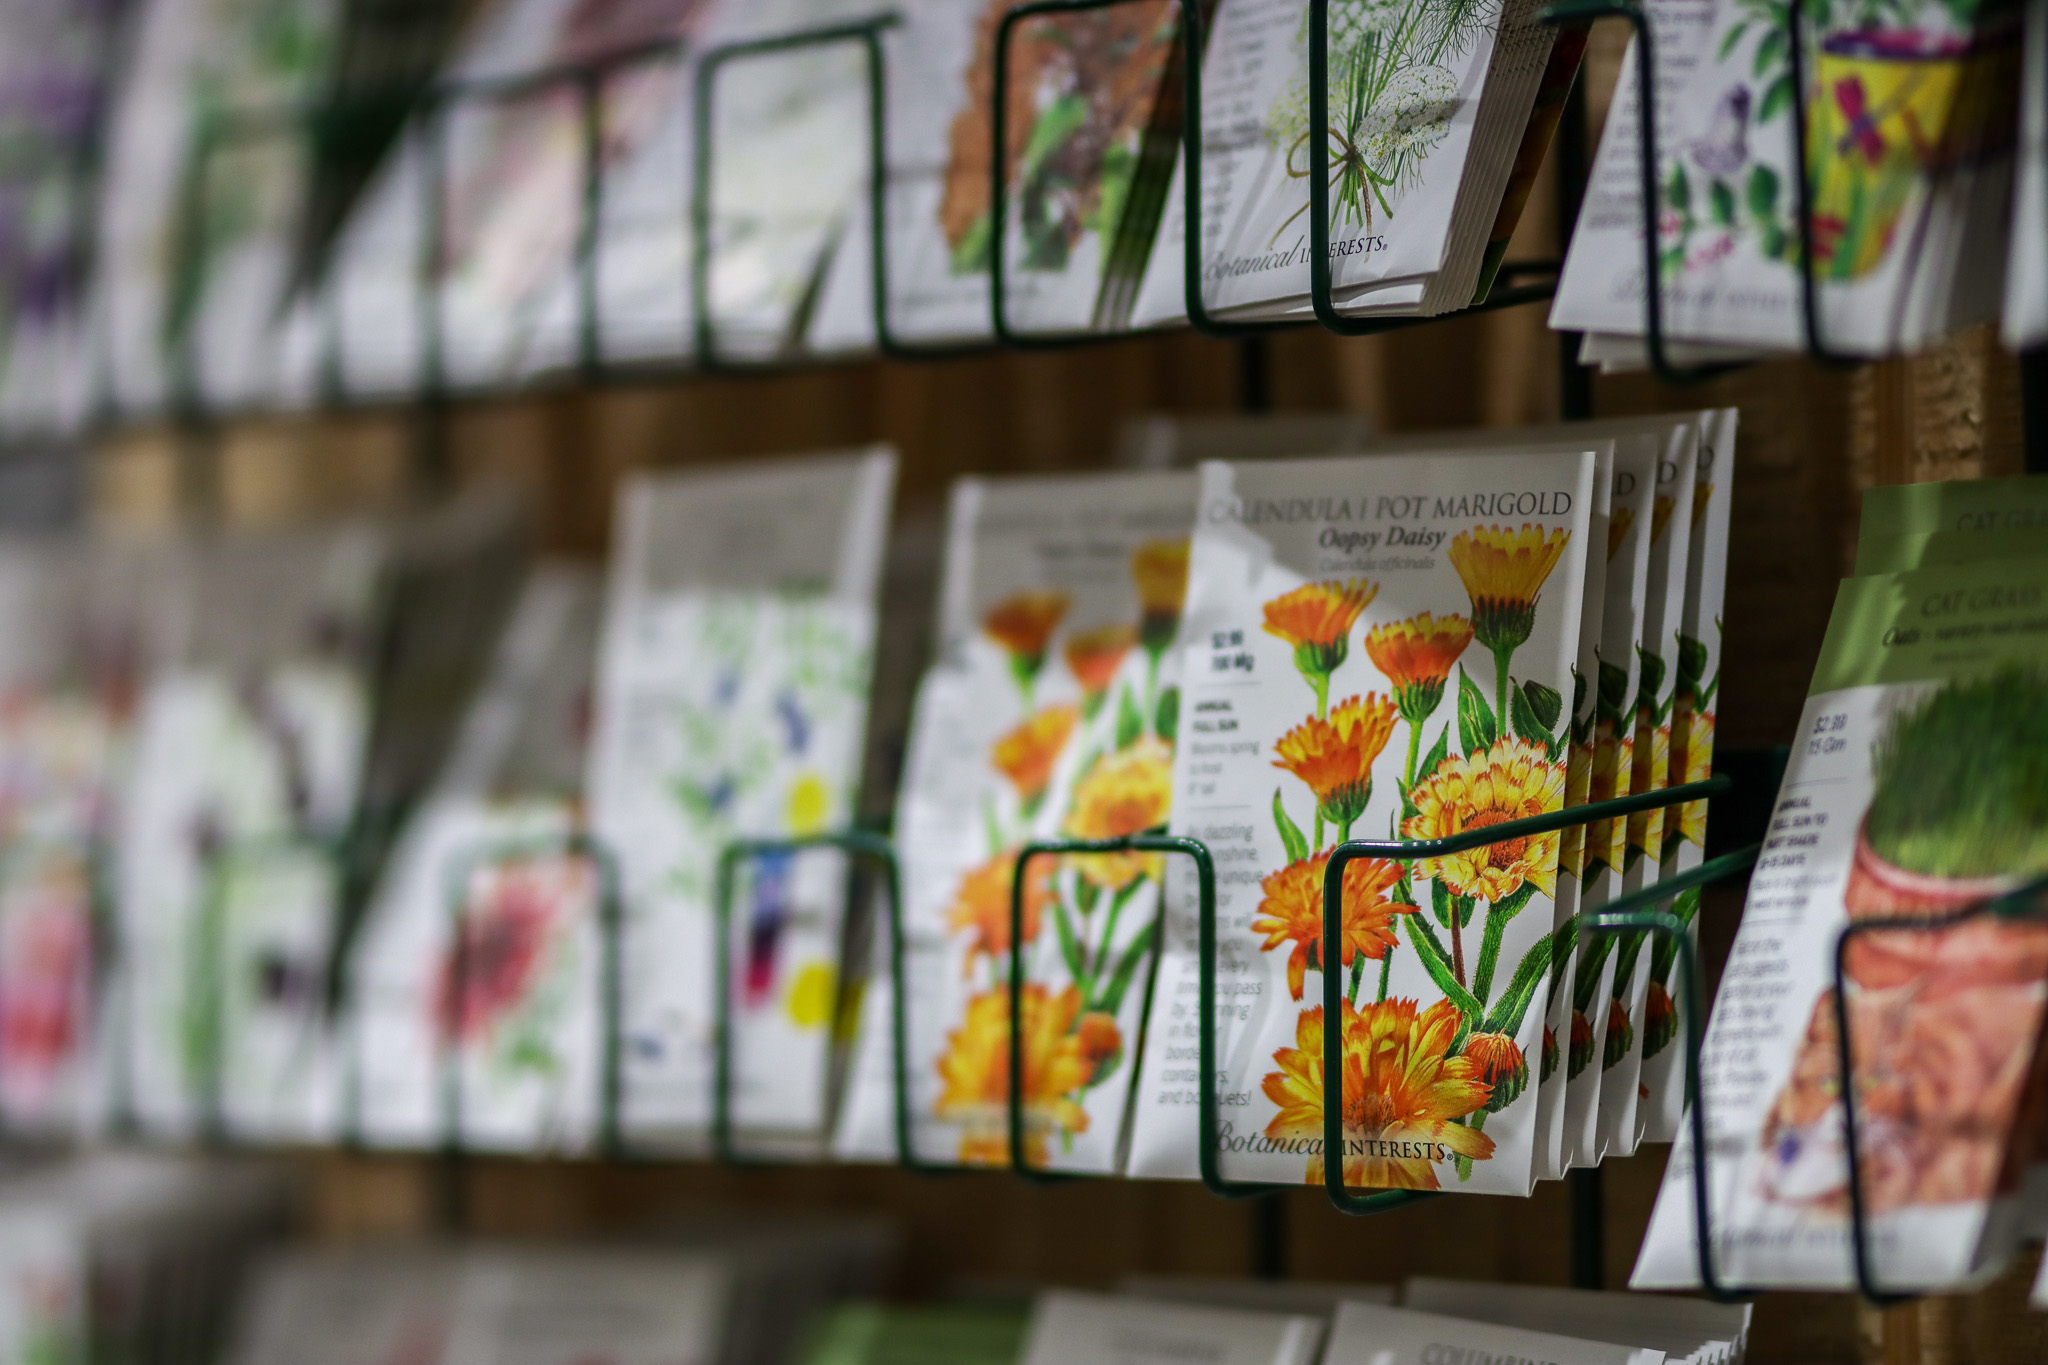
5 Tips for Planting Spring Bulbs
One of the most important aspects of fall gardening is the preparation for the upcoming spring season with spring-blooming bulbs! The emergence of colorful bulb blooms like tulips, daffodils, crocuses, and hyacinths is definitely a sight to see after the cold winter months. To ensure a vibrant and blooming garden come springtime, it’s crucial to plant these bulbs correctly in the fall. In this blog, we’ll explore five different ways to plant spring bulbs.
The Trowel Technique: The Beginner’s Way
A handheld trowel is one of the most common and versatile tools for planting spring bulbs. To use it effectively:
- Dig a Hole: Choose a sunny or partially shaded spot in your garden and dig a hole that’s roughly three times the depth of the bulb.
- Place the Bulb: Gently place the bulb in the hole with the pointed end facing upward, ensuring it’s at the correct depth.
- Cover and Pat Down: Fill the hole with soil and pat it down gently to eliminate air pockets.
The Bulb Planter: The Traditional Route
A bulb planter is a specialized tool designed for planting bulbs efficiently and uniformly. They are generally a standing device, so you don’t have to kneel or bend like when you use a shovel. Here’s how to use it:
- Position the Planter: Push the bulb planter into the ground, turning it slightly to create a cylindrical hole.
- Drop the Bulb In: Place the bulb into the hole at the desired depth. The soil inside the planter will slide out as you lift it.
- Cover and Pat Down: Fill the hole with soil from the planter and pat it down for good soil-to-bulb contact.
The Shovel Approach: For Planting in Mass
For larger bulbs or when planting multiple bulbs at once, a shovel can be handy:
- Dig a Trench: Use a shovel to dig a trench of the appropriate depth for your bulbs. This method is ideal for mass planting.
- Place the Bulbs: Lay the bulbs in the trench, spacing them according to the recommended guidelines.
- Cover and Firm: Gently fill the trench with soil and firm it down to secure the bulbs in place.
The Auger Advantage: For Fast & Easy Planting
If you have a large number of bulbs to plant and want to make the process quicker and less strenuous, consider using a bulb planting auger. This is an attachment you can add to your regular household electric or battery-powered drill:
- Attach the Auger: Connect the auger to a drill and select the appropriate size for your bulbs.
- Drill the Holes: Position the auger at each planting site and drill holes to the recommended depth.
- Place the Bulbs: Drop the bulbs into the holes and cover them with soil, tamping it down gently.
The Planter Method: Controlled and Neat Planting
If you prefer a non-bed planting option, a bulb planter can be your best friend:
- Fill the Planter: Load the planter with soil to the desired depth.
- Position and Press: Place the planter at the planting site and press it into the soil to create a hole.
- Drop the Bulb In: Put the bulb into the hole created by the planter, and cover it with soil.
- Create a Lasagna Planter: Layer bulbs that bloom from different depths to create a stunning display of blooms for a porch or patio display
Planting spring bulbs can be a rewarding and enjoyable experience. By using the right tools and techniques, you can ensure that your garden bursts into a riot of color come springtime. Whether you choose a trowel, bulb planter, shovel, auger, or a planter, each method has its advantages. To learn more about what’s growing on at the garden center, check out Mike, the Garden Guru, and his webinars with new plants, products, and expert planting advice. To keep inspired and grow with us, follow us on Facebook, Instagram, Pinterest, and TikTok to dig into the joys of gardening!