Sow, Now’s the Time
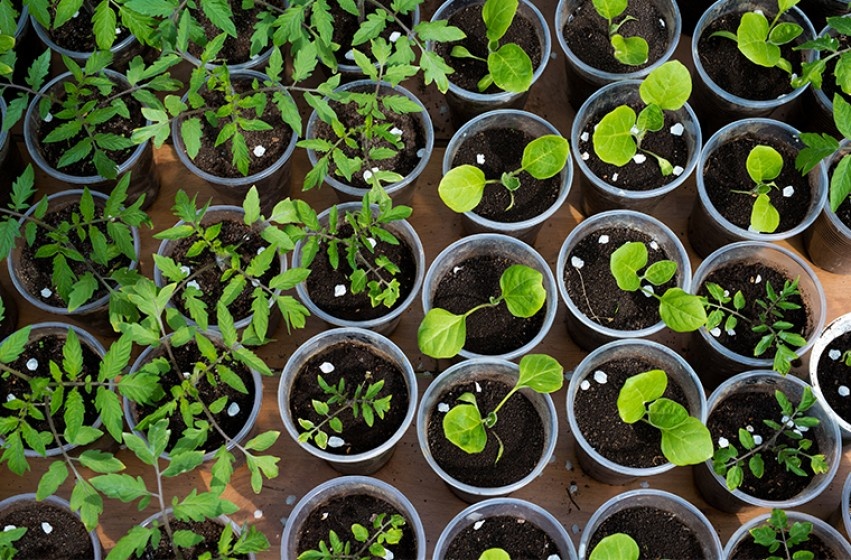
Starting plants from seed is one of the most exciting and rewarding gardening activities. Growing seed is not complicated, it just requires a little thought and care. For best results, it is important to use fresh seed and follow the instructions on each seed packet which include specific planting tips, light source requirements and watering specifications. So grab a selection of your favorite seeds from annuals, to perennials to herbs & veggies — and start from seed!
What you’ll need:
- Your choice of fresh seed packets
- Clean pots or seed trays with drainage holes (egg cartons & Styrofoam cups work too but be sure to create a drainage hole). We recommend using seed starting supplies from Jiffy.
- Seed starting mix. We recommend Black Gold Seed Starter Potting Mix.
- Plastic spoon and or pencil – to make a hole for seed.
- Jiffy seed starter greenhouse. This will allow the soil to heat up faster and help germinate the seed.
- Plant labels and/or markers.
- Light source such as a bright window or a grow light
- Water
Sowing the Seed:
- Read seed package for special instructions.
- Start the seeds about 8-weeks before the last expected frost date. In Hampton Roads, that is about April 15.
- Label containers with seed type.
- Fill pots or trays with seed starter mix to about 1 cm below the rim of container.
- Plant seed. For small seed, sprinkle on top of starting mix and for large seed push into mix until just covered (soil depth depends on seed type).
- Cover seeds with a thin layer of starting mix – approx. ¼ inch deep (do not cover very fine seed).
- Water
Finishing Touches:
- Place pots or trays inside your seed starting greenhouse or use a large, loose plastic bag or cover with cling wrap to keep seeds warm and moist until germination.
- Place in a warm, well lit area — out of direct sunlight as it warms up.
- If potting soil begins to dry out, remove cover and water gently.
Transplanting Seedlings:
- When seedlings are 2-3 inches tall, transplant to a larger container for continued growth.
- To transplant, fill the new container with pre-moistened mix and gently press the mix around the transplanted seedling and water to settle soil.
- Plant seedlings in garden when the weather has warmed into the 50 degree range at night. Remember to acclimate the seedlings to outdoor life by slowly exposing them to sunlight in order to minimize stress on the plant.