How to Build a Scarecrow
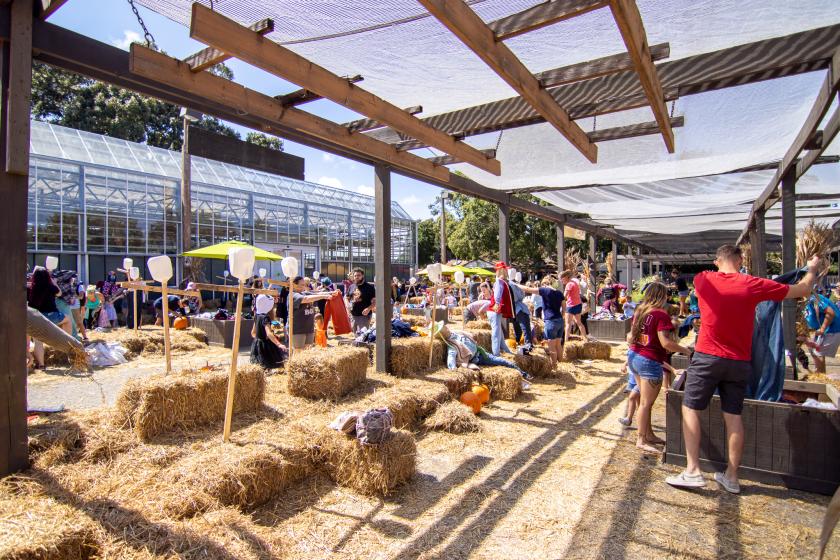
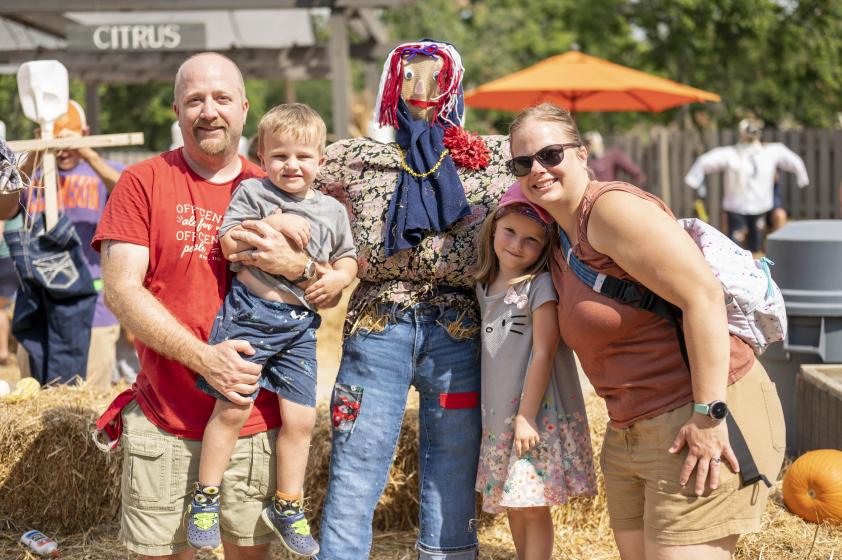
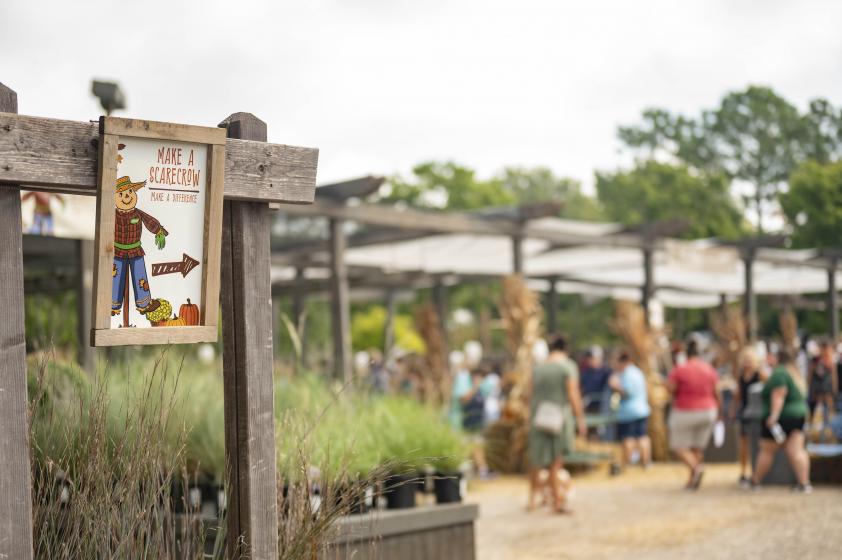
Building scarecrows is an over 20-year tradition here at McDonald Garden Center. Every year at our Make A Scarecrow event, we partner with The King’s Daughters, the founding organization of Children’s Hospital of The King’s Daughters (CHKD), to raise money for the hospital as well as have a great time getting ready for fall.
Building a scarecrow is easy and fun! You just need to know the steps to start.
Step 1: Start with a Frame
At our Make A Scarecrow event, we will already have this frame set up for you. Our frames consist of 2 pieces of wood arranged in a cross with the horizontal piece higher up on the frame (this will later be the shoulders and arms of your scarecrow).
After your frame is ready, you just need a base for the head. We use milk jugs for this part or even large, plastic flower pots in some cases.
Step 2: Time for Pants
Adding pants to your scarecrow will be the base structure of the final outfit. Once you find a pair that fits your scarecrow’s personality, run the bottom of your cross through one of the pant legs.
Next, you are going to form suspenders from twine to keep the pants up. Tie one end of your twine to a front belt loop and then pull it to the opposite side back belt loop. Repeat this to form the suspenders.
Finally, tie off your pant legs with more twine and stuff the pants to the brim with straw.
Step 3: Put on a Shirt
Select a shirt to mix and match with the pants your scarecrow now has on.
Pull the sleeves through the frame and tie off the ends of the sleeves as well as the bottom of the shirt with twine. Stuff the shirt with straw, just like the pants.
Step 4: Making the Face
Now that the body is complete, it is time to give your scarecrow their face!
Cover the plastic jug with burlap and tie off around the neck with string to hold it in place. Then dress up your scarecrow’s look with googly eyes, yarn hair, a felt nose, and whatever else you think they need to look complete.
Step 5: Finishing Touches
Now that your scarecrow is put together, now it’s time for finishing touches. Add fun elements like hats, scarves, necklaces, belts, and even shoes to your scarecrow to give them even more pizzazz!
Come make your own scarecrow with these instructions this weekend only at our Make A Scarecrow event September 17th – 18th, 2022. Don’t forget to also check out the Garden Guru and his webinars with new plants, products, and expert planting advice. To keep inspired and grow with us, follow us on Facebook, Instagram, and TikTok to dig into the joys of gardening!